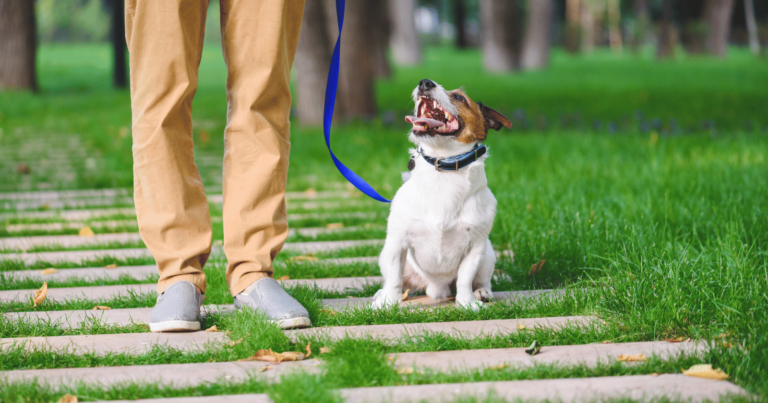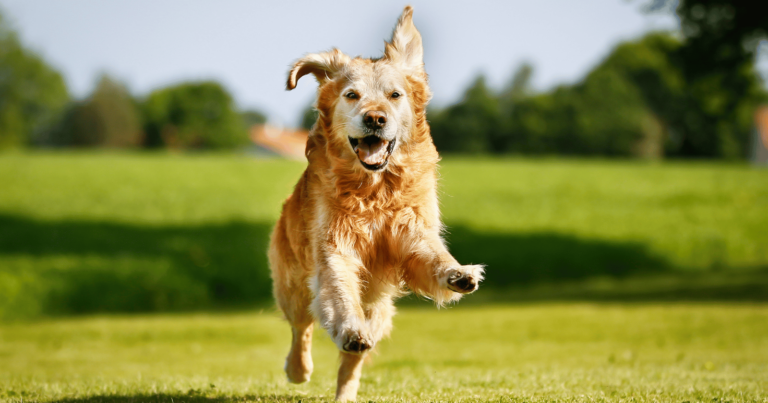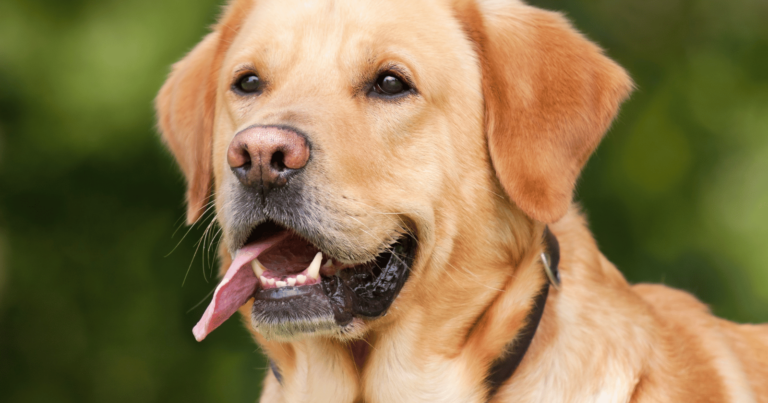

Grooming your beloved pooch at home can be a rewarding experience, saving not only money but also strengthening your bond.
We believe that grooming should be more than just a chore; it’s an opportunity for some quality ‘me and my dog’ time.
With the right approach and some handy tips, the process can be enjoyable for both you and your furry friend.
In this guide, we’ll be dishing out six effective tips that can transform you into your dog’s personal stylist.
1. Creating a comfortable environment
The first step in grooming your dog at home is to ensure the environment is comfortable and stress-free for them.
Dogs can be sensitive to new experiences, so it’s crucial that they feel at ease during grooming sessions.
Start by choosing a quiet, well-lit area in your home where your dog can relax.
Avoid spaces with loud noises or heavy foot traffic that may startle or distract your pup during their grooming session.
Next, gather all the grooming tools you’ll need beforehand.
Having everything within reach will help the process go smoothly and prevent any unnecessary interruptions.
It’s also important to maintain a calm demeanor throughout the grooming process.
Dogs are incredibly perceptive and can easily pick up on their owner’s emotions.
If you’re feeling stressed or anxious, chances are, your dog will too.
Finally, remember to reward your dog throughout the grooming process.
Treats, praises, and petting can go a long way in making your dog feel relaxed and comfortable.
This positive reinforcement can also make them more cooperative in future grooming sessions.
2. Choosing the right grooming tools
The choice of tools can greatly affect the comfort and safety of your dog during grooming sessions.
A basic grooming kit for dogs typically includes a brush, comb, nail clippers, and dog-safe shampoo.
Brushes and combs are useful for removing loose hair and untangling mats in your dog’s fur.
The type of brush or comb you’ll need can depend on your dog’s coat length and texture.
Nail clippers are used to trim your dog’s nails and prevent them from becoming overgrown and causing discomfort.
It’s important to choose a size appropriate for your dog and to be careful not to cut into the quick of their nail, which can be painful.
Dog-safe shampoos are formulated to be gentle on your pet’s skin and fur.
They can help remove dirt, reduce odors, and leave your dog’s coat looking shiny and healthy.
Always avoid using human shampoos as they can dry out your dog’s skin and cause irritation.
In addition to these basic tools, you might also consider investing in a good pair of grooming scissors for trimming around sensitive areas like the face and paws, a grooming table for larger breeds, or even a pet hair vacuum for easier cleanup after brushing.
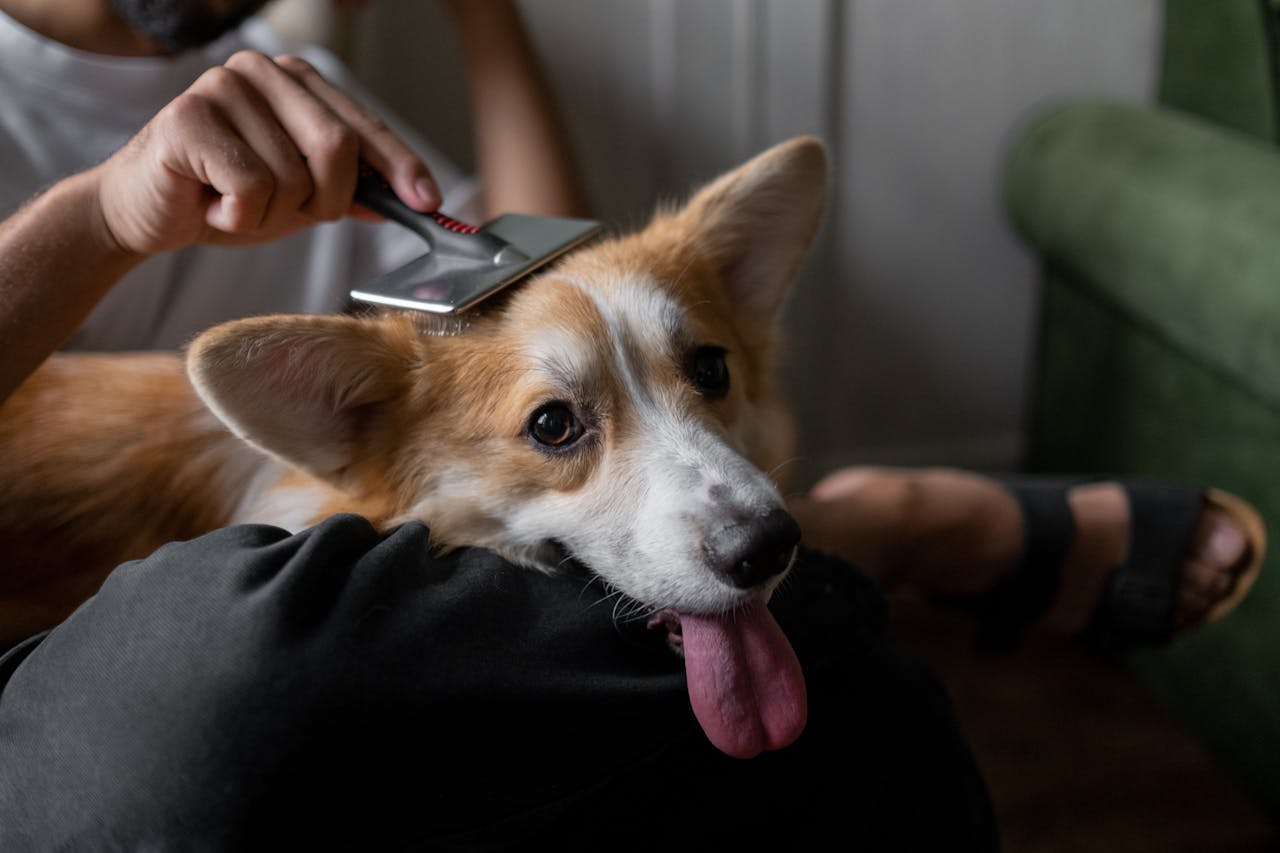
3. Mastering brushing techniques
Brushing your dog’s coat is an essential part of dog grooming that shouldn’t be overlooked.
Regular brushing not only keeps your dog’s fur looking great, but it also stimulates the skin, helps distribute natural oils, and can prevent matting and tangling.
The brushing technique you use will largely depend on the type of coat your dog has.
For dogs with short hair, a rubber brush or grooming mitt is often sufficient to remove loose hair and stimulate the skin.
Use gentle, circular motions to brush against the direction of hair growth.
For dogs with longer hair, you’ll want to use a slicker brush or comb to detangle any mats or knots.
Start from the ends of the hair and work your way towards the skin to avoid causing any discomfort.
Be extra careful when brushing around sensitive areas like the belly and ears.
4. Bathing your dog correctly
Bathing is a crucial part of home grooming and, when done correctly, can keep your dog’s skin healthy and their coat shiny.
However, it’s important to remember that unlike humans, dogs don’t need frequent baths.
Too many baths can strip their coat of natural oils leading to dry skin and irritation.
Before you start, make sure you have everything you need close by: a dog-safe shampoo, several towels, a non-slip mat for the tub, and a cup or handheld shower head for rinsing.
Begin by wetting your dog’s coat thoroughly, taking care to avoid their eyes and ears.
Once wet, apply the shampoo and gently massage it into their fur. Be sure to cover all areas, including their belly, legs, and tail.
Rinsing thoroughly is crucial.
Any leftover shampoo can cause skin irritation.
Ensure you rinse until the water runs clear and there are no more soap suds in your dog’s fur.
Once bath time is over, towel dry your dog as much as possible.
Most dogs aren’t big fans of blow dryers, so towel drying is usually the best way to go.
If your dog has a long coat, you may need to use a hairdryer on a low heat setting to prevent their fur from matting.
5. Nail trimming basics
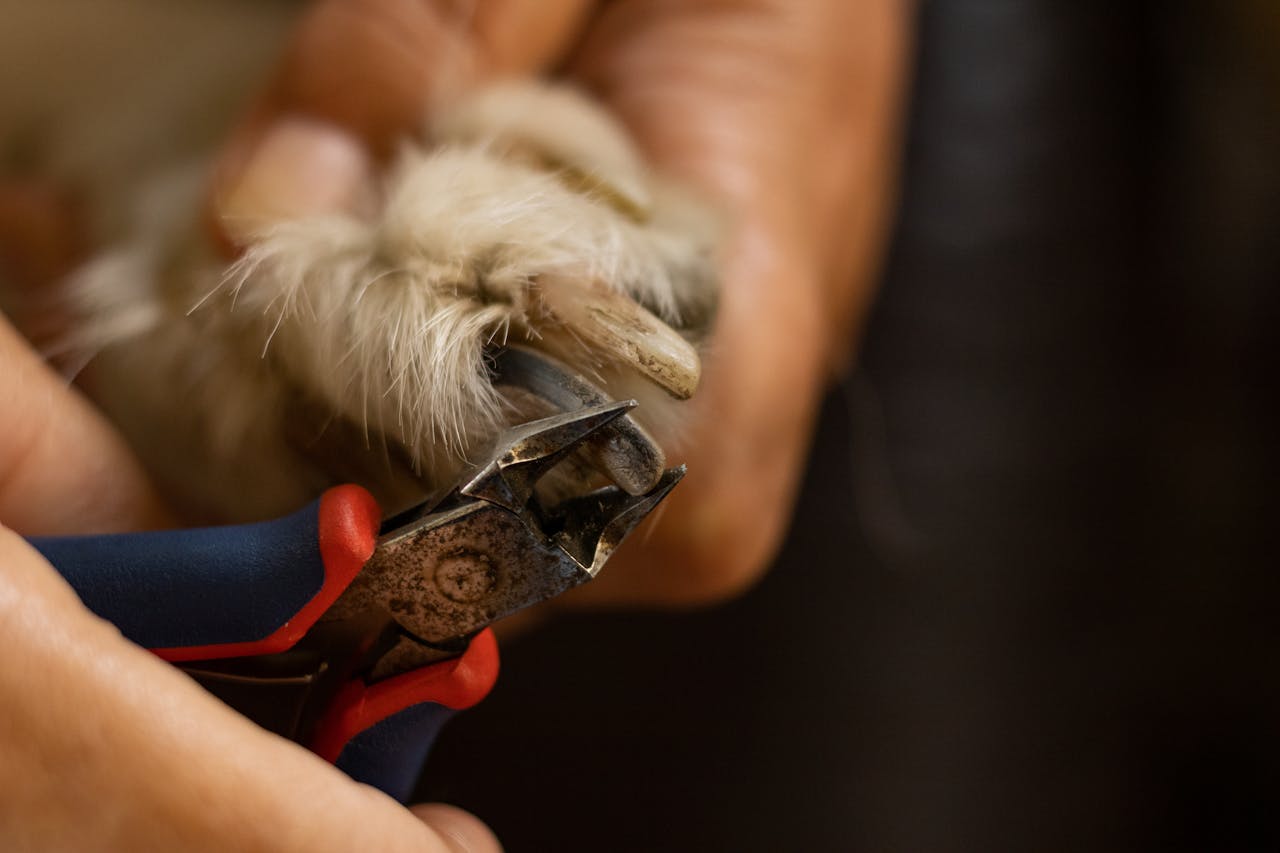
Trimming your dog’s nails is a necessary part of grooming that can prevent discomfort and potential injury.
Overgrown nails can cause pain when walking, and in some cases, lead to problems with their posture and gait.
For this task, you’ll need a pair of dog nail clippers or a grinder.
Clippers come in two main types – guillotine style and scissor style.
The choice depends on what you find easier to handle and what suits your dog’s size and nail thickness.
Before starting, it’s crucial to identify the quick of the nail, which is the sensitive part that supplies blood to the nail. In light-colored nails, it’s the pink section, while in dark nails, it’s not visible, making trimming a bit trickier.
Always start by making small cuts and proceed gradually to avoid cutting into the quick which can be painful and cause bleeding.
If you’re unsure or nervous about doing this yourself, having your vet show you how to do it the first time can be very helpful.
Furthermore, make sure to keep a styptic powder or pencil handy.
This product is used to stop bleeding if you accidentally cut into the quick.
6. Ear cleaning essentials
Dogs’ ears can be a breeding ground for bacteria and yeast if not kept clean, especially for breeds with floppy ears.
Start with a high-quality dog ear cleaner.
Avoid using water, as it doesn’t evaporate easily and can lead to infections.
Dampen a cotton ball with the cleaner and gently wipe the inside of your dog’s ear flap.
Don’t insert anything into the ear canal as it can be harmful.
If you see signs of an infection such as redness, swelling, or a bad smell, it’s time to visit the vet.
While cleaning, it’s also a good opportunity to check for parasites like ticks or fleas that often hide in these areas.
Always end the cleaning session with a reward to make this a positive experience for your pup.
With regular checks and cleanings, you can keep your dog’s ears healthy and avoid potential problems.
Embracing the grooming journey
Each dog is unique, and as you progress on this journey, you’ll discover what works best for your specific pet.
This might mean trying different tools, adjusting your approach, or even learning how to handle breed-specific grooming challenges.
Remember, the goal of grooming isn’t just about maintaining your dog’s appearance but also their overall health and well-being.
Regular grooming sessions allow you to check for any abnormalities such as skin issues, lumps, or parasites.
By noticing these early, you can seek veterinary help promptly.
Lastly, always keep in mind that patience and positivity are crucial during these sessions.
Your calm demeanor can make a world of difference in making the experience enjoyable for both you and your dog.
Happy grooming!